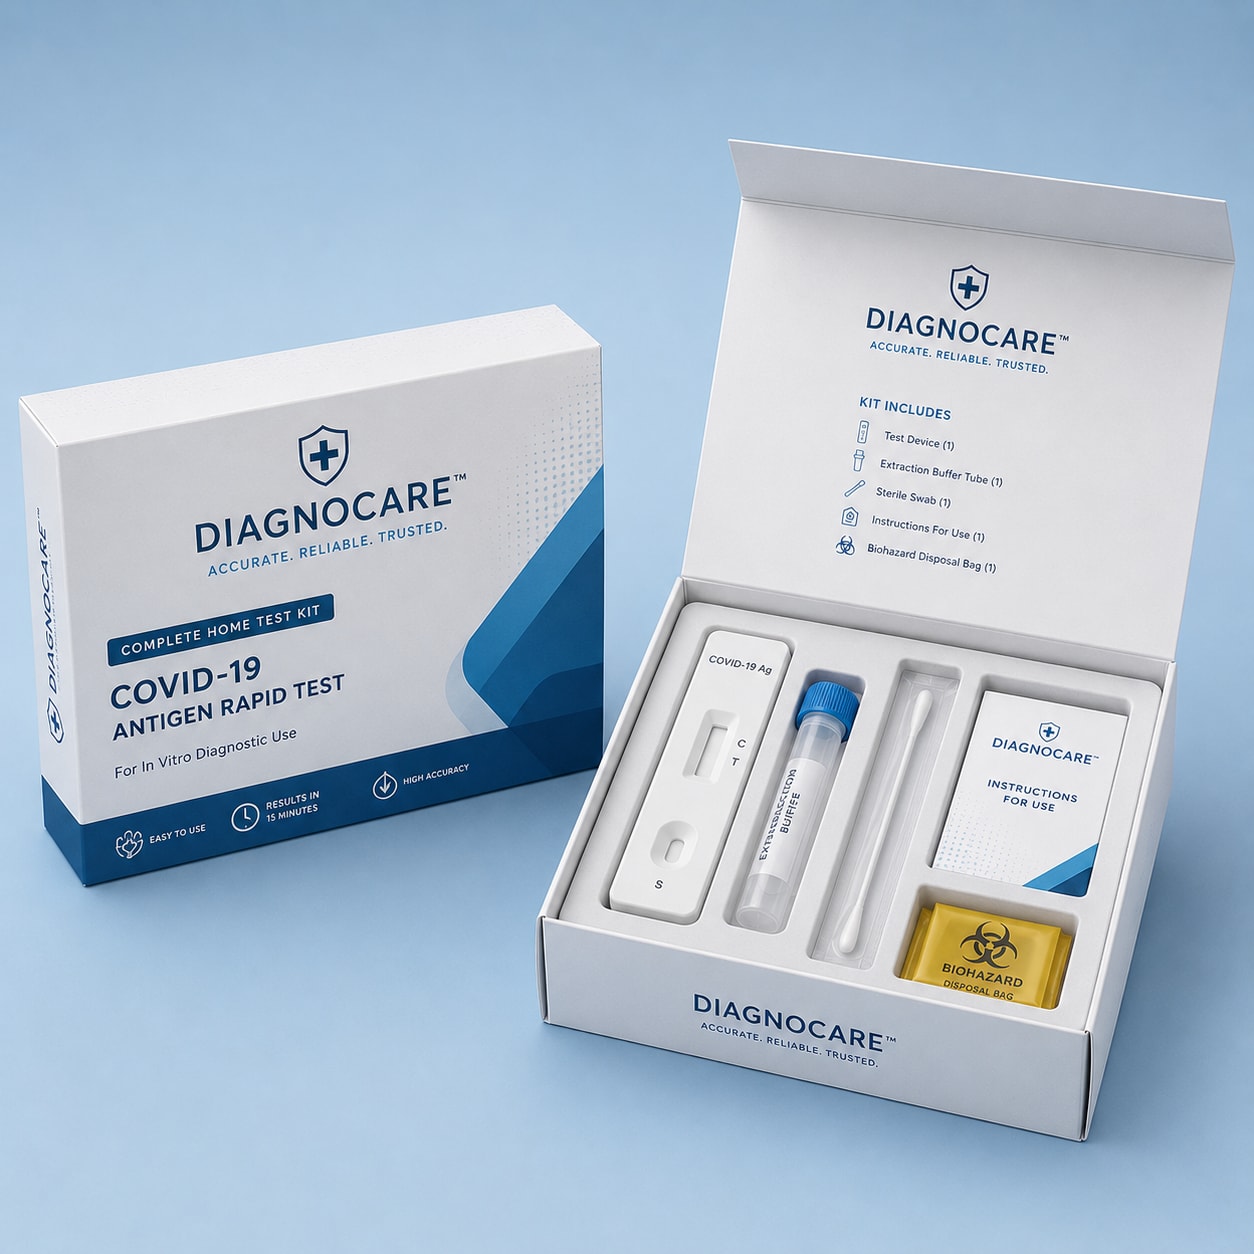
Test Kit Packaging.
Final price depends on size, material, finish and quantity. Your packaging manager confirms it before production.
Your custom box, quoted.
The full specification book.
Six chapters. Six colours. Click a tab to turn the page.
Test Kit Packaging
A set of instructions that happens to contain components, so the sequencing is what you are really packaging.
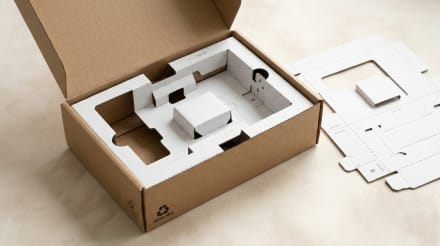
A home test is performed once, by someone untrained and often anxious. Numbered positions make the order physically obvious before any instruction is read, which is what prevents invalid results.
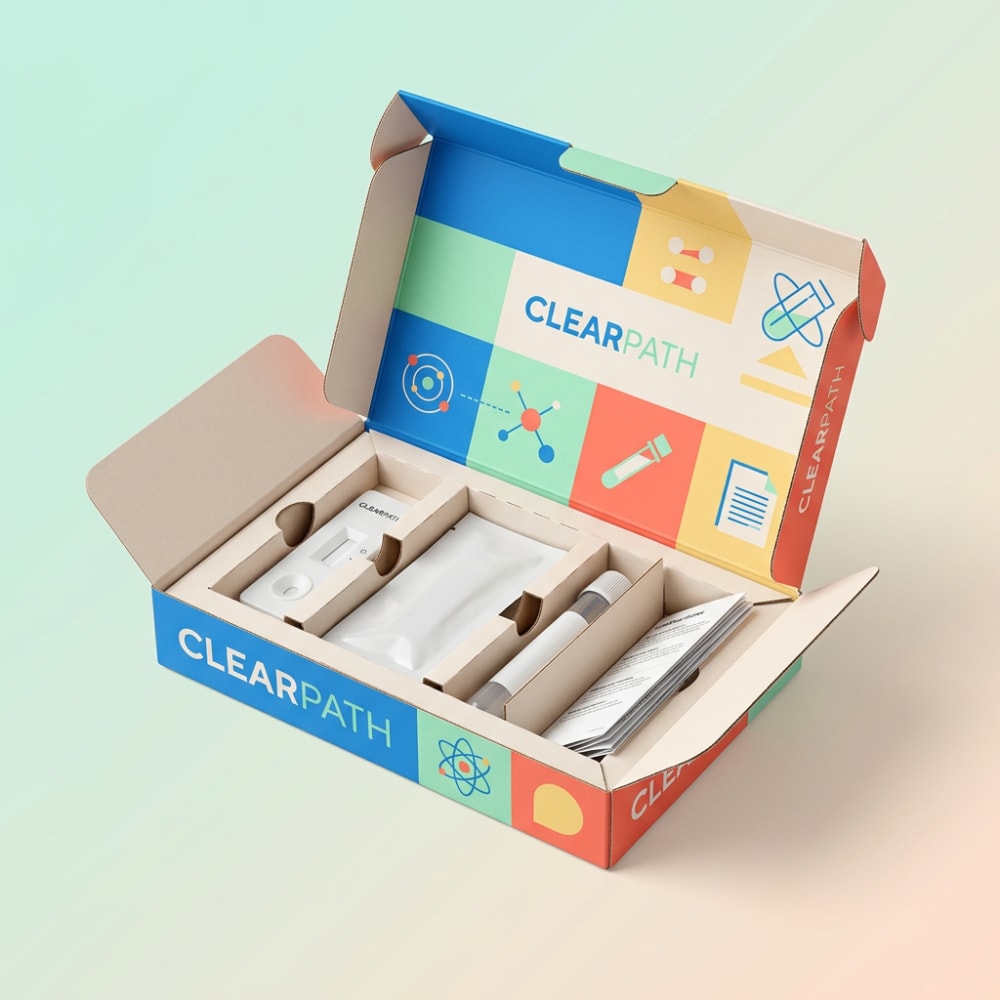
Every detail. Intentional.
Sequence made physical
Numbered positions in the tray itself.
Differentiate similar items
Two alike vials in a fixed order is a hazard.
IFU matches the layout
Mismatched order is a known error source.
Reagents need protection
Desiccant and foil pouches for strips.
Expiry must be findable
Degraded reagents give false results.
Explain the result
Interpretation graphics, not just the method.
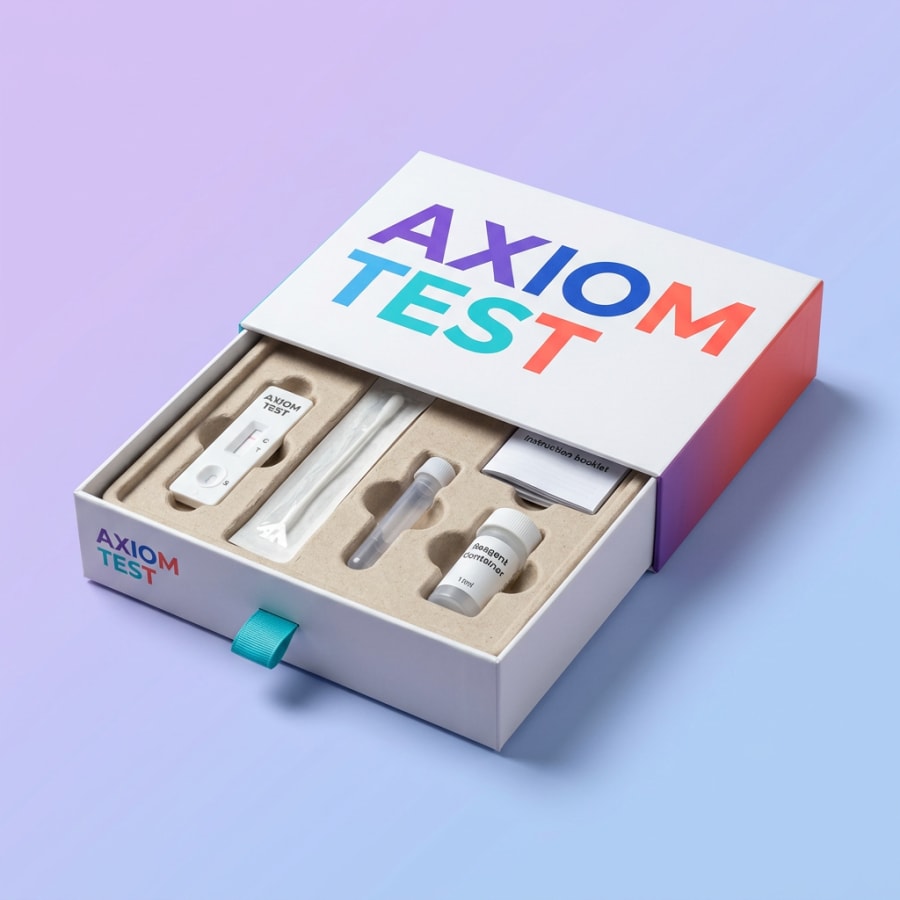
Built like architecture.
Every order of Test Kit Packaging is an engineered build, measured, dieline-cut and hand-wrapped to spec. Below is the standard build sheet.
✦ Need a custom spec? Talk to our atelier. Every detail is negotiable.
Every surface, hand-selected.
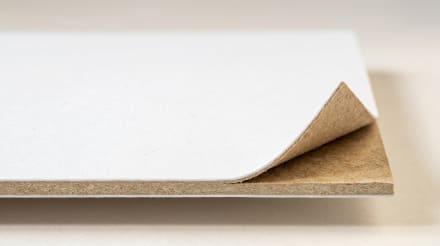
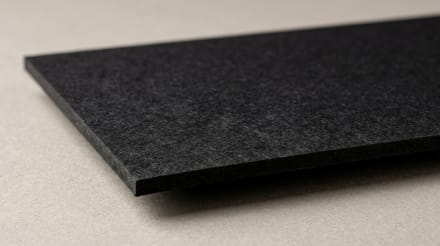
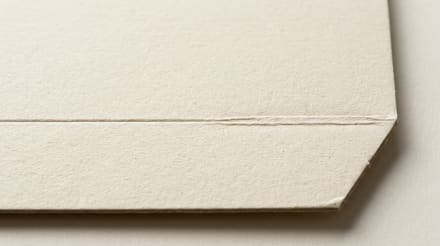
What this product is built from, and the surfaces it takes. Below the build sheet sits the full swatch library. Every option applies across our range, and a physical swatch set is available on request.
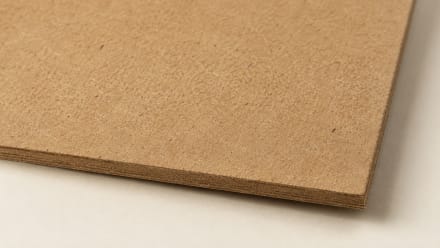
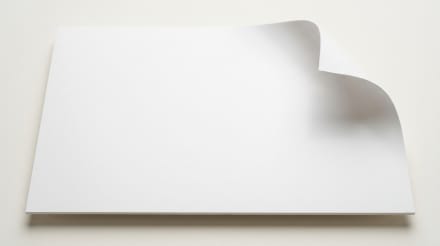
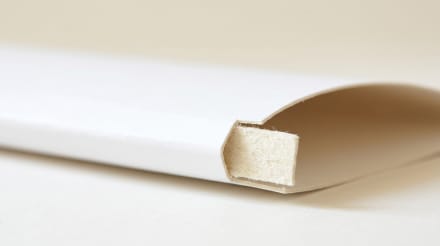
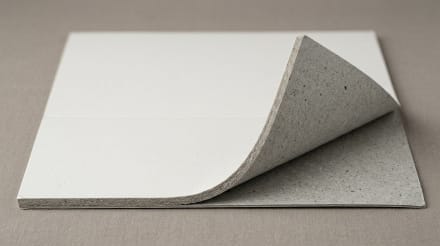
Material
The board and paper your box is built from.
 ◷ ECO
◷ ECO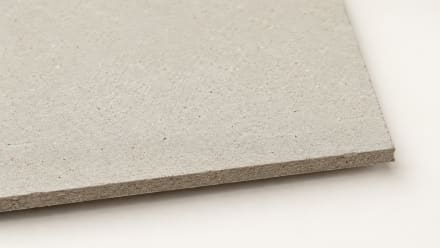 ◷ FINISH
 ◷ FINISH
 ◷ FINISH
 ◷ FINISH
 ◷ FINISH
 ◷ FINISH
 ◷ FINISH
 ◷ FINISH
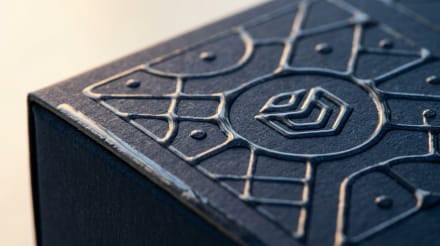
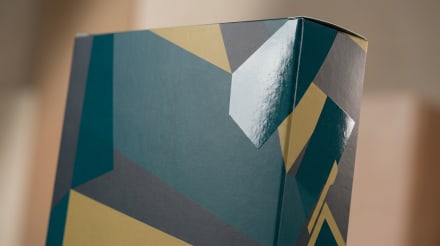
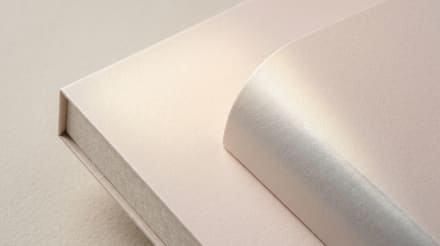
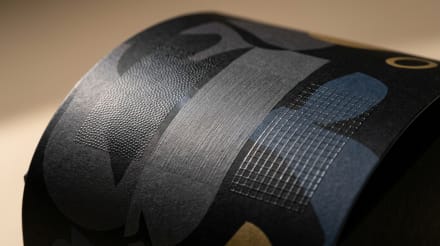
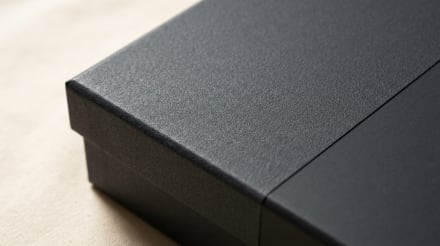
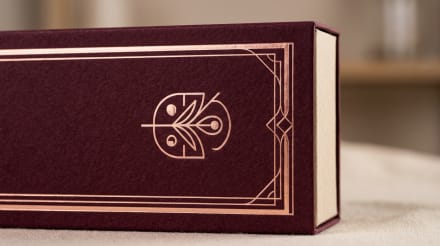
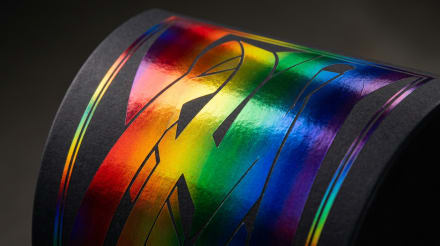
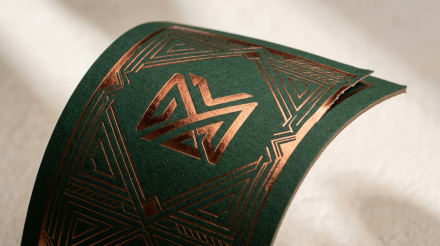
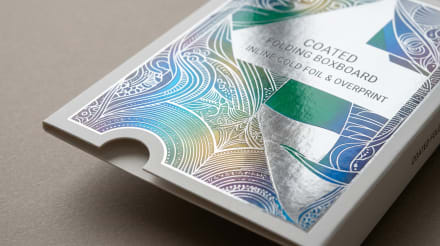
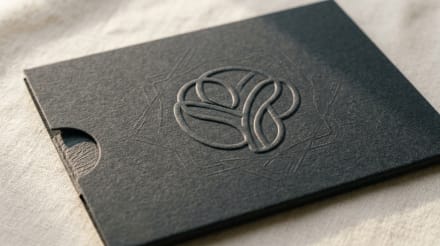
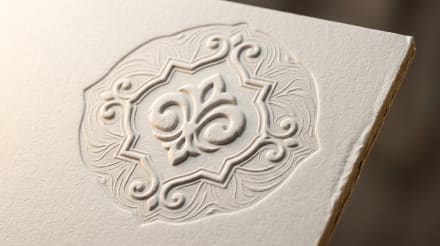
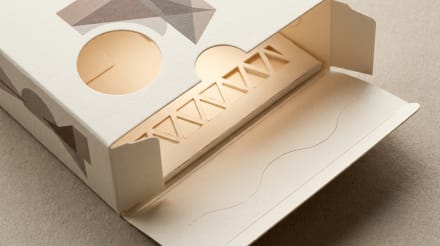
Finishes
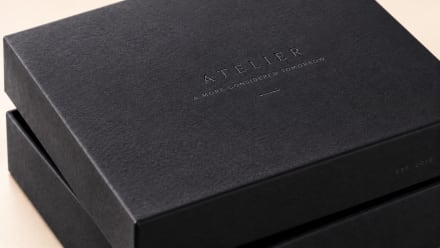
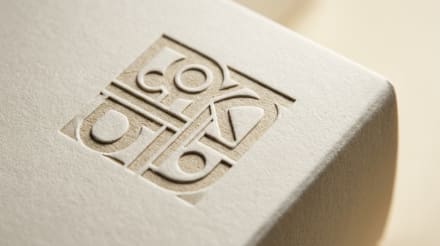
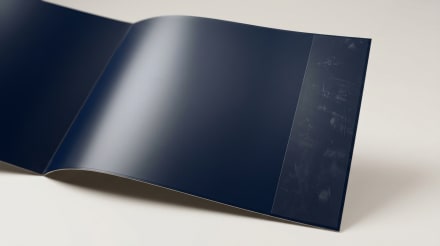
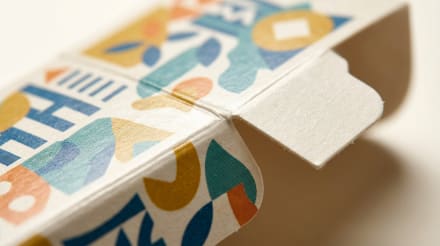
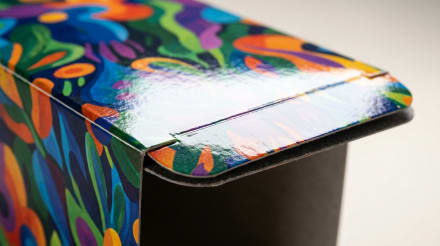
How the outer surface looks, feels, and catches light.
 ◷ FINISH
 ◷ FINISH
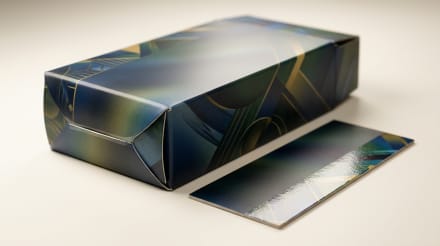 ◷ FINISH
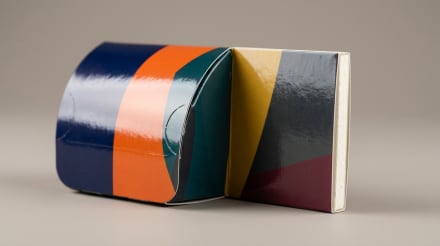 ◷ FINISH
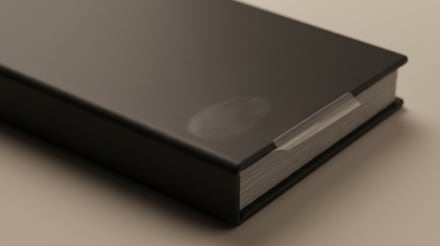 ◷ FINISH
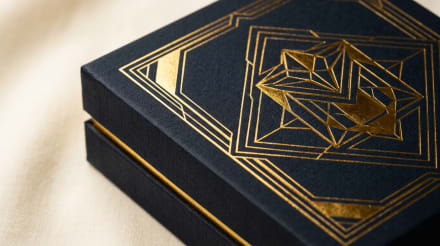 ◷ FINISH
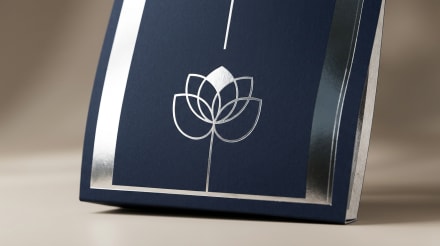 ◷ FINISH
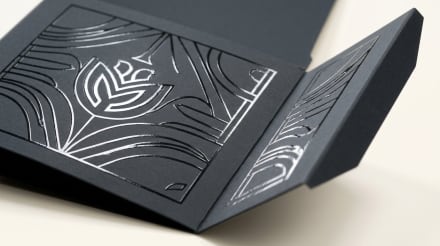 ◷ FINISH
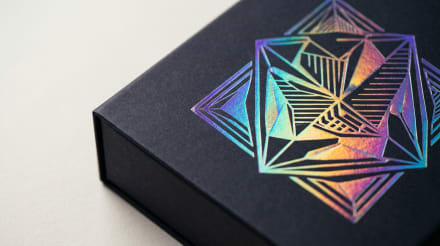 ◷ FINISH
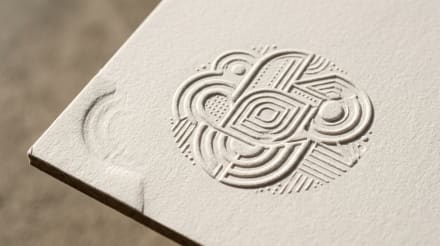 ◷ FINISH
 ◷ FINISH
 ◷ FINISH
 ◷ FINISH
 ◷ FINISH
 ◷ FINISH
 ◷ FINISH
 ◷ FINISH
 ◷ FINISH
 ◷ FINISH
 ◷ FINISH
 ◷ FINISH
 ◷ FINISH
 ◷ FINISH
 ◷ FINISH
 ◷ FINISH
 ◷ FINISH
 ◷ FINISH
 ◷ FINISH
 ◷ FINISH
Add-ons
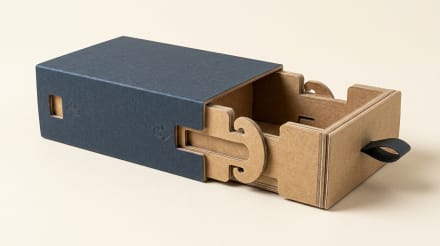
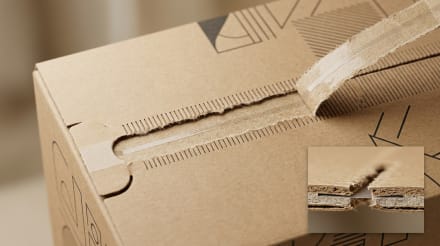
Closures, linings, and hardware that complete the build.
 ◷ FINISH
 ◷ FINISH
 ◷ FINISH
 ◷ FINISH
 ◷ FINISH
✦ Mix and match across all three and we'll build your exact combination.
The full kit of capabilities.
Sizing & dieline.
We cut Test Kit Packaging to a dieline built around your product instead of pulling a stock size off the shelf. Send us the length, width and height of the item (or the item itself) and we return a measured dieline, free, before you commit to anything.
Length, width and height of the item itself, at its widest points. Measure the product, not the box you happen to use today.
Allow 2–4 mm on each axis for a snug fit, and more if you are adding foam, a pillow insert or tissue.
We quote as Length × Width × Height. Tell us whether you are working in millimetres or inches and we match it.
✦ Not sure of your size? Send us the product and we measure it and build the dieline.
Pricing & minimums.
We price Test Kit Packaging per specification rather than from a fixed list, because the same build in two different finishes can land at very different numbers. Below is what actually moves the price, so you can shape the spec before you request a quote.
The single biggest lever. Unit cost falls sharply as volume rises, because setup and tooling spread across more pieces.
Board weight and stock choice change both the raw material cost and the shipping weight of the finished run.
Foil, spot UV, embossing and soft-touch each add a pass on press. One or two lift the box; five compound the cost.
Full-bleed print inside and out costs more than a one-sided design on natural stock.
Foam, moulded pulp, velvet pillows, magnets and ribbon are priced per piece on top of the box itself.
Standard production is the base rate. Rush moves you up the production queue and carries a surcharge.
✦ Quotes returned within 24 hours.
Questions, answered.
Everything you need to know about Test Kit Packaging.
The tray has numbered positions in the order the test is done, so the sequence is obvious before anyone reads the leaflet. Someone doing a test for the first time, often anxious, looks at the tray before the instructions. When position 1 holds the first thing they need, they follow the order without thinking about it.
We print or emboss the numbers on the tray itself, next to each cavity.
Differentiate them by colour and by cavity shape, instead of relying on a printed label alone. Two vials that look alike and have to be used in a fixed order are a known hazard in home testing. A round seat for one and a square seat for the other means neither fits back in the wrong place.
Colour bands on the tray should match the colours used in the instructions, so the user can cross-check at each step.
They should, because a leaflet that lists steps in a different order from the tray is a known source of errors. We lay the instruction panels out in the same left-to-right sequence as the cavities, using the same numbers.
The leaflet also has to fold legibly and fit the box without crushing. Result-interpretation graphics showing what each line means can go inside the lid, where they're visible while the test develops.
Strips go in sealed foil pouches, often with a desiccant, and the kit box holds those pouches flat and dry. Moisture and heat are what degrade reagents in storage, so the barrier sits at the pouch level. The outer box protects the pouches from crushing and keeps the components together.
We size the pouch cavity so it doesn't crease the foil, since a creased pouch can split along the fold.
Matte lamination over CMYK with Pantone matching is our usual spec, with spot UV on the brand mark if you want it. Matte keeps instructions and result graphics readable under bathroom lighting without glare.
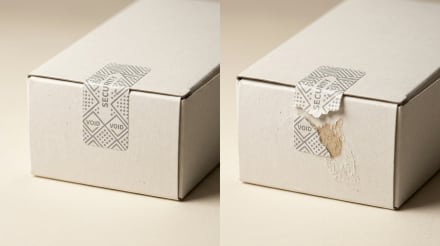
Expiry has to be findable before the test is used, so we give it a clear printed zone on the outside, sized for your coding. A tamper-evident seal across the opening shows the kit hasn't been opened before.
Common kit formats are 6 × 4 × 1.5 in and 8 × 5 × 2 in. The smaller one suits a single test with a strip pouch and a buffer vial, and the larger fits multi-test kits or kits with swabs and lancets.
We work from the component list and each item's size, then draw the tray layout first and size the box around it. Rigid chipboard suits a premium kit, and SBS keeps retail kits light.
Test kit packaging has a 500-unit minimum. That includes the printed box and its numbered tray, which are designed together and quoted as a pair. A pilot launch or a clinical-study batch fits comfortably at that level.
Once the tray is right, larger runs reuse the same tooling.
We produce test kit boxes in 7 to 10 business days after sign-off, or in 5 to 7 when rushed. Sampling runs 5 to 7 business days, and we recommend it for any kit with a tray, since you'll want to fit every component and walk through the steps.
If you go ahead, the sample fee is credited against the production run.
Other products you might love.
Ready to start your Test Kit Packaging project?
Get a free quote in 24 hours. Our atelier is here to help.